Check out my custom vibration dampener
An Overview of the Different Parts of a Tennis Racquet
With a Helpful Diagram
If you’re just getting started with tennis, then it can be beneficial to have a thorough understanding of the parts of a tennis racquet. This way, when friends, coaches, or teammates reference a part of the racquet, you’ll have a clear understanding and can speak knowledgeably about each component yourself.
If you’re purchasing your first racquet or finding a new racquet, it can also be tremendously helpful to understand each part and how it impacts your racquet’s performance, so that you can better evaluate and select a racquet. Once you’ve learned about the parts of a tennis racquet, be sure to check out our detailed guide to the best tennis racquets for 2022.
Article Contents
Click below to jump to a section
Tap below to jump to a section
Parts of a Racquet Video
Racquet Parts Diagram
Parts vs. Specs
Racquet Parts Explained
Wrapping Up
New to TennisCompanion?
Create a free account and explore my latest videos below
Parts of a Tennis Racquet Video
Join me as I walk you through each part of a tennis racquet:
Here are timestamps for the different sections of the video if you’d like to jump directly to them:
0:15 – Intro
0:47 – Butt Cap
1:04 – Butt
1:11 – Handle
1:16 – Grip
1:25 – Grip Tape
1:29 – Collar
1:38 – Bevels
1:50 – Shaft & Throat
2:02 – Head
2:08 – Rim
2:15 – Beam
2:20 – Grommet Strips
2:31 – Grommets
2:43 – Bumper Guard
2:57 – Strings
3:02 – Main Strings
3:04 – Cross strings
3:07 – Face
3:12 – Wrap Up
You’ll find detailed descriptions of each part in the sections or this article that follows.
Tennis Racquet Parts Diagram
Over the years, racquet technology has evolved leaps and bounds; however, the core parts of a tennis racquet have, for the most part, remained constant.
Here’s a diagram of the Babolat Pure Aero you can use as a point of reference.

Parts of a Racquet vs. Specs
It’s worth noting the difference between the various parts of a tennis racquet and a racquet’s specs.
The parts of a racquet refer to the name of each component that all racquets share while the specs are the measurable nuances that make each racquet unique, such as a racquet’s weight.
Both are useful to understand, especially when buying a new tennis racquet. However, for this article, we’re focused on the parts.
Different Parts of a Tennis Racquet Explained
Let’s break down the individual components of a tennis racquet with a brief explanation of each part.
Butt Cap

The butt cap refers to the piece of plastic that increases the size or flares out the bottom of a racquet’s handle, which helps ensure the racquet stays put in a player’s hand.
Some butt caps have removable trap doors, which, when taken off, can serve as a useful location for adding material to customize a racquet’s weight.
Racquet manufacturers will commonly print their logo as well as the size of the racquet’s handle as well.
Butt
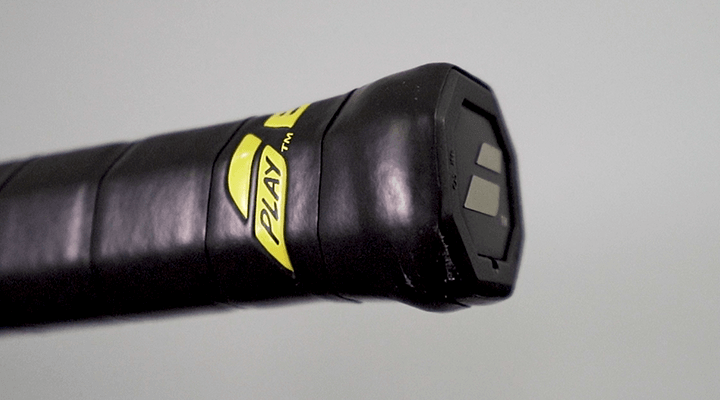
While the butt cap is the piece of plastic at the end of a racquet’s handle, the butt refers more generally to the handle’s bottom.
Handle

The handle refers to the entire length of the area where a player places their hands to hold the racquet.
Extended length tennis racquets typically come with longer handles to increase the overall size of the racquet, which in turn provides players with more leverage and power.
The circumference, or the length of the outer edge of a tennis racquet’s handle, range from 4 inches to 4 ⅝ inches. It’s important to select the correct size handle to ensure comfort and limit the possibility of injury from a handle that is too small or too large.
Grip

The grip of a tennis racquet is the outer covering of a racquet’s handle, which provides a cushioned surface to protect a player’s hand from the harsh surface of the handle, while also providing traction that ensures a firm grip to prevent the racquet from slipping.
If needed, you can swap out the original grip with a replacement grip or wrap an overgrip on top of the stock grip for extra traction and sweat absorption.
Grip Tape
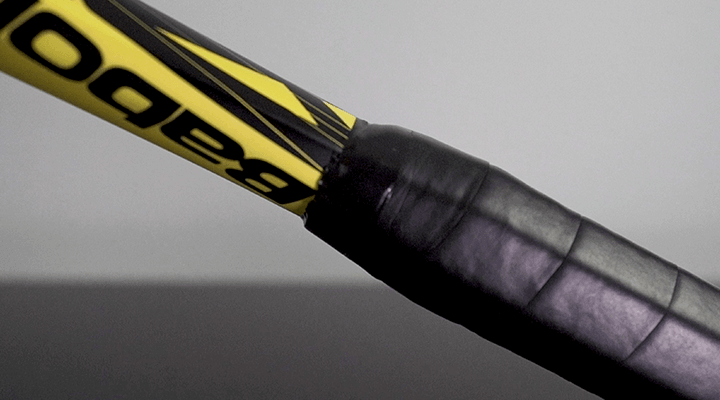
At the top of the racquet’s handle, you’ll find grip tape that secures the grip to the racquet and prevents it from unraveling.
Collar

Some racquets will come with a rubber collar that fits over the top of the grip tape for extra security, which can also secure an overgrip as an alternative to standard grip tape.
Handle Bevels

A racquet’s handle has eight sides or bevels, which help prevent the racquet from twisting or rotating in a player’s hand. They also serve as useful guides when learning how to grip a tennis racquet.
Shaft & Throat

The shaft is the part of a tennis racquet that extends between the head and the handle, which will either have an open or closed throat.
Older wooden racquets typically feature closed throats, while virtually all modern racquets have open throats, which splits into two sections and extends outward to begin the formation of the head, as does this racquet.
The throat’s design is a primary contributor to a racquet’s flex. A “stiff” racquet will often provide less flex at the throat to help generate additional power when hitting.
Head

The head refers to the entire oval portion of the racquet, in which the strings are installed to create the hitting surface.
Head sizes can vary significantly from racquet to racquet. However, generally speaking, most head sizes will typically fall between 95 and 110 square inches. For beginner racquets, we recommend 100 square inches or greater, which allows for a higher margin of error.
Generally, the size of a racquet head has a direct influence on the overall power of a racquet. A racquet with a larger head will give a player more power, while a racquet with a smaller head will lend less power – but more control.
Rim

The rim of a tennis racquet refers more specifically to the outside edges of a racquet’s head, which you can think of like the edge of a cup.
Beam
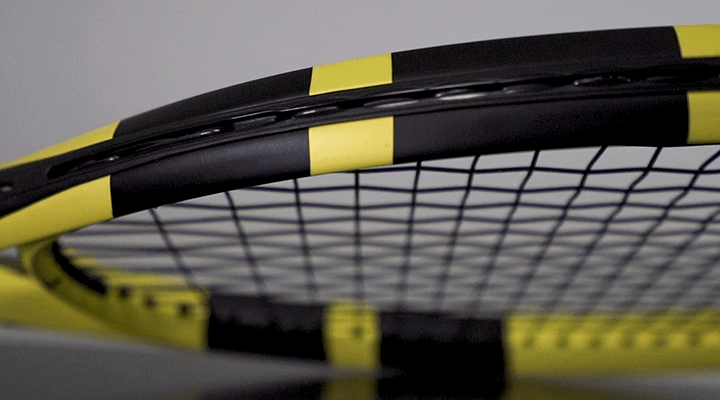
The beam of a tennis racquet refers to its side, which may be thicker or thinker depending on the type of tennis racquet.
The beam is often an overlooked part of a racquet, which can have significant implications on overall racquet performance.
Power racquets will tend to have a wider beam, which increases the stiffness while allowing the strings to move more freely and, therefore, generating additional power.
On the other hand, control racquets typically have smaller beams, which makes for a more flexible frame while limiting string movement, resulting in added control.
You can easily compare the beams of various racquets by placing them on a table or the ground side by side, which is worth considering when purchasing a new racquet.
Grommet Strips
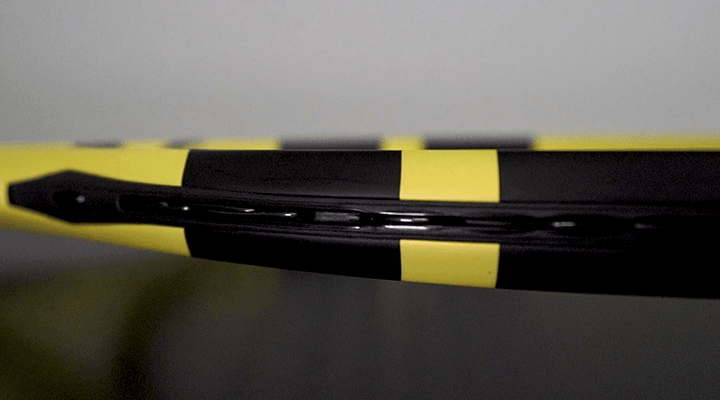
Around the racquet’s head, you’ll find plastic grommet strips. They are inserted through the side of the frame to protect the strings from the sharp edges of the drilled holes that allow the strings to pass through.
Grommets

The individual barrels or tunnels along the grommet strip that insert through the frame are called grommets.
Sometimes, the width or design of the grommets changes to allow or constrict the movement of the strings.
With power racquets, you’ll be more likely to find grommets that are wider, allowing for free movement of the strings, while control racquets will have narrower grommets to help constrict movement.
Bumper Guard

You’ll find a bumper guard at the top of a racquet’s head, which helps protect this area and the strings as it periodically scrapes or comes in contact with the court.
Despite their durable plastic material, bumper guards will require replacement to protect and prolong your racquet. If not replaced, the frame may be exposed and lead to a crack or premature breakage.
Strings
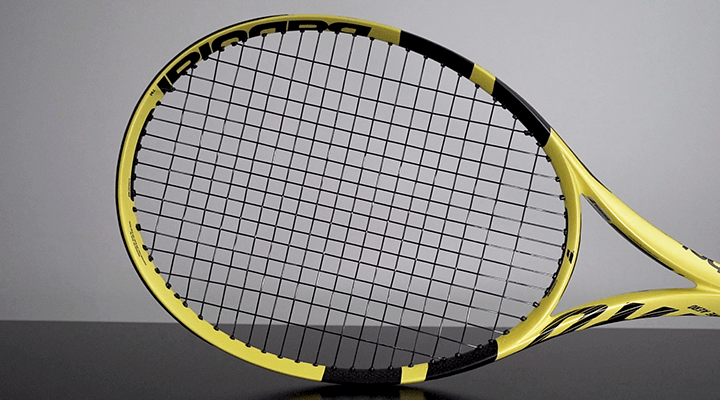
Tennis strings are a thin piece of material installed throughout the head of the racquet, which provides the flat trampoline-like hitting surface.
Tennis string comes in a variety of gauges, or thicknesses, and materials, and the type of string you use can have a tremendous impact on overall racquet performance.
Furthermore, the tension you string a racquet can directly impact power, control, spin, and durability.
Main Strings
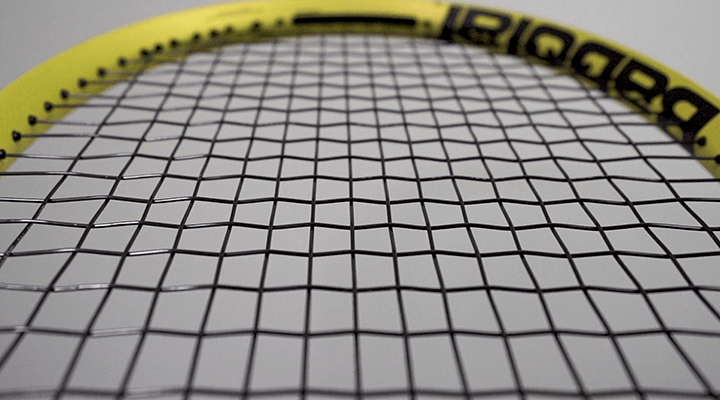
The strings that run vertically within the head of a tennis racquet are the mains.
Cross Strings
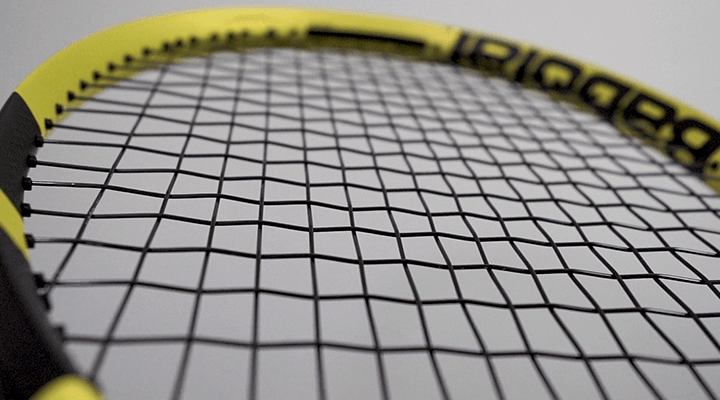
The strings that run horizontally are the crosses.
Face
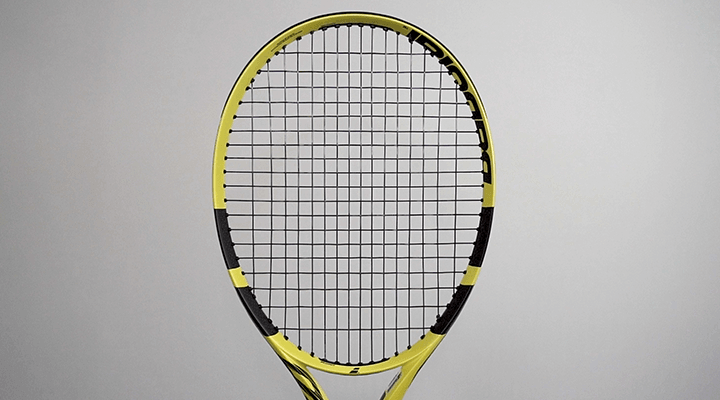
When woven together, tennis strings form the face of a tennis racquet.
Play Better Tennis
Improve your game alongside our community of tennis players
Why join?
Discussion Boards
Join the conversation with other members of the community.
5 Point Friday
Read our weekly recap of the 5 most interesting things we dig up in tennis.
Trackbacks & Pingbacks
Leave a Reply
Want to join the discussion?Feel free to contribute!


Took my new tennis racket to be stringed and the stringer said the covers for the grommets that slide on the frame were missing –do the grommets have covers ?
Hey Laurence! Thanks so much for your question and congrats on the new tennis racquet!
This definitely sounds a bit odd, as grommets are typically inserted into the frame, so normally they won’t slide or move. However, to answer your question, grommets do not have covers. Instead, grommets at the top of the racquet head will cover the outer edge, i.e. beam, of the tennis racquet, so perhaps there was a slight miscommunication?
What would be helpful is to know the exact tennis racquet that you have. This way I can take a closer look and make sure there isn’t something I’m missing :)
I HAVE A ( HEAD INSTINCT REV RACKET ) AND THE TENSION LEVEL MAX ON THE RACKET IS 57LBS.
I’M GOING STRING IT WITH ( HEAD FXP TOUR ) FOR THE FIRST TIME AND I NEED TO STRING MY RACKET AT 62LBS ( 5LB OVER THE LIMIT )
: QUESTION
1. WILL 5LB OVER THE LIMIT DO DAMAGE TO MY RACKET
2. WHATS THE MAX LBS YOU SUGGEST I CAN OVER THE LIMIT
P.S THIS IS MY FIRST TIME GOING TO A MULITFILAMENT STRING…. ( I WAS HITTING WITH A POLY BUT NOW I’M GOING FOR A MUCH SOFTER STRING )
THANKS FOR ALL YOUR HELP ……
Hey Trey, thanks for the questions! To start, here are some direct answers:
1.) No, at 5 lbs over the recommended limit you shouldn’t have any problems at all as long as you don’t have any structural imperfections, such as cracks or significant dings
2.) This is a little more difficult of a question to answer, but generally speaking I would not recommend going over 80 lbs on most racquets.
A little more detail…
One thing to note is that the recommended string tension is just that, recommended. Generally speaking most racquets can be comfortably strung above or below the recommended string tension. Typically the recommended string tension range is determined through extensive play-testing by actual players.
Based on feedback given by play-testers, racquet manufactures will set a “recommended” string tension range. In essence, this is the range that most players will find the racquet performs well at, however if you’d like to move up a few pounds for more control or down a few pounds for a little extra power, most modern racquets shouldn’t have any structural issues with these adjustments.
WORD OF CAUTION: Have your stringer check for any structural imperfections prior to stringing. They should be able to tell you whether or not they see any issues and if they’d be comfortable stringing at a higher tension.
As for your new string, Head FXP Tour, is a polyester monofilament with multifilament wraps. As such, this string will perform and feel similar to a pure poly, yet provide a little more forgiveness. As such, you’re likely on the right track with stringing a few pounds tighter to achieve a similar feel, but you might consider only 2-3 pounds tighter if you were using a true poly, such as Prince Tournament Poly.
If you’re up for it, you may want to check out two of our articles on the different types of strings and string tension, which provide some more detail on these two topics:
https://tenniscompanion.org/types-of-tennis-string/
https://tenniscompanion.org/tennis-string-tension/
Good luck, and feel free to let us know if you have any additional questions.